
January update – we finished the land drain across the front of the garage to the big soakaway in field 1 (before finishing the below ground garage wall) and got started on building the Nudura walls.

Feb Week 1: Prepping for the garage floor slab pour (we need a slab down to anchor the supporting props for the Nudura walls when they go above 4 blocks high). This means building 2 courses around the whole perimeter (to level and align) before pouring the 2 courses around the garage only (with rebars to strengthen the join) which would then retain the slab when poured. We soon saw how well two courses can catch the gentlest puff of wind and blow over if not propped.

Week 2: Plan A aborted when it was clear we couldn’t support the two courses around the garage as well as we wanted. Plan B, pour a 50mm blinding layer to support the props and build all the walls up to the full 7 courses for a full (monolithic) pour with no need for additional rebar.

Blinding layer poured Tuesday 7th with help from Sam (Duraform), Faheys and Mike Hardy who is now resident for 3 months.

Slab poured we can get on with levelling, aligning, propping and building up the walls…

Garage wall up to full height to check how well the column aligns. Sadly it doesn’t so the solution is…we don’t know yet!

Week 3: Monday – Granny flat up to 6th course and learning how to insert a door.

Tuesday: Staircase walls and plant room party wall started.
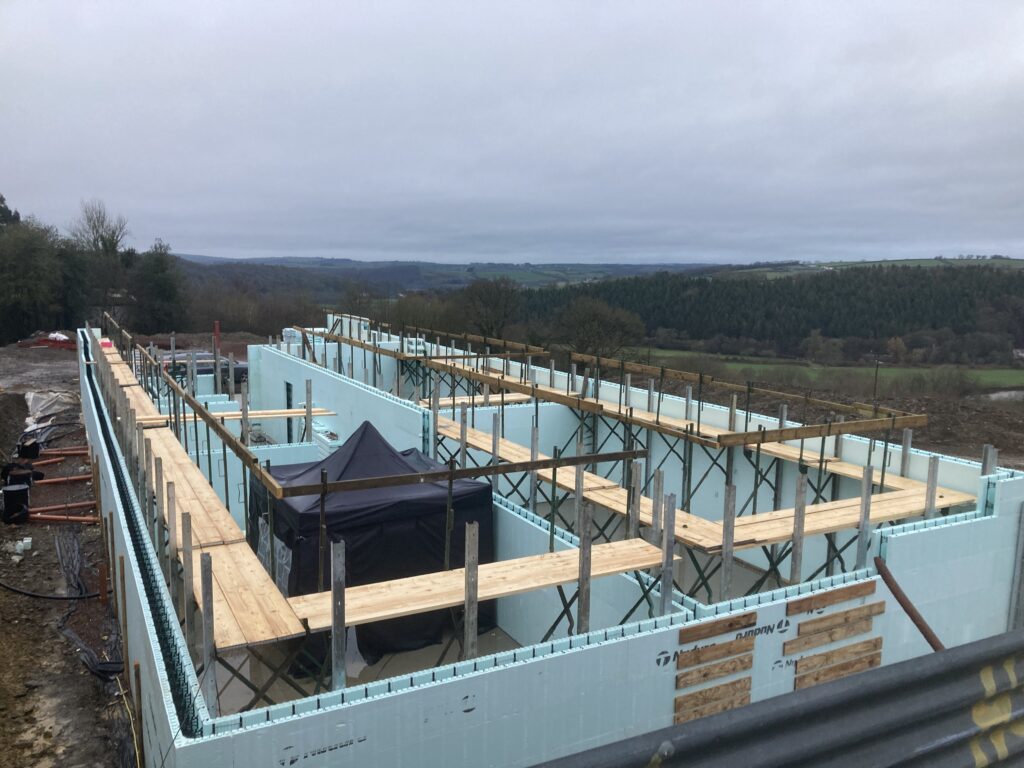
Wednesday: All walls up to 4 courses so we can complete the scaffolding.

Thursday: Beginners’ mistakes rectification day – taking the bulges out of the T junctions (due to trying to be too perfect too early) and the misaligned garage party wall.
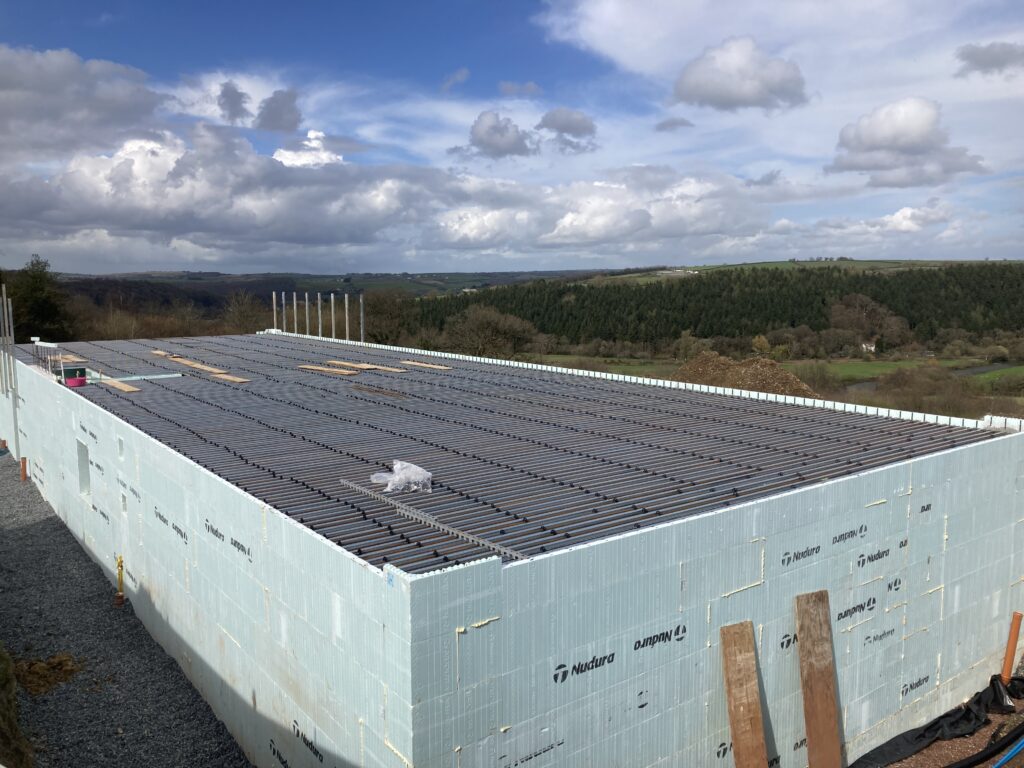
Friday: No rain for a change. Got most of the walls up to 6 courses. Looks like we’re going to be short on blocks though.

River flooding in the valley and an inkling into what the view will be like from c. 1m below finished first floor level. Cock up on the rebar front fixed (didn’t see we need 8mm horizontal bar next to the staircase) – blocks removed, rebar installed, sorted.

View from the other side of the valley. The balck cladding and the hedging on the mounding will help to merge into the background. Happy with the alignment of Greenways behind – centralising the ‘mass’.
Week 4: Back to school week. We learned that 18″ does not = 450mm and now we’re setting all levels for windows, doors, ceilings from the slab up with the laser level.
We met Stu Baillie at Little Silver Wood and booked up the sweet chestnut for the cladding. Well in advance but there is a shortage so we can’t guarantee any later in the year. Tested the black staining which works a treat.
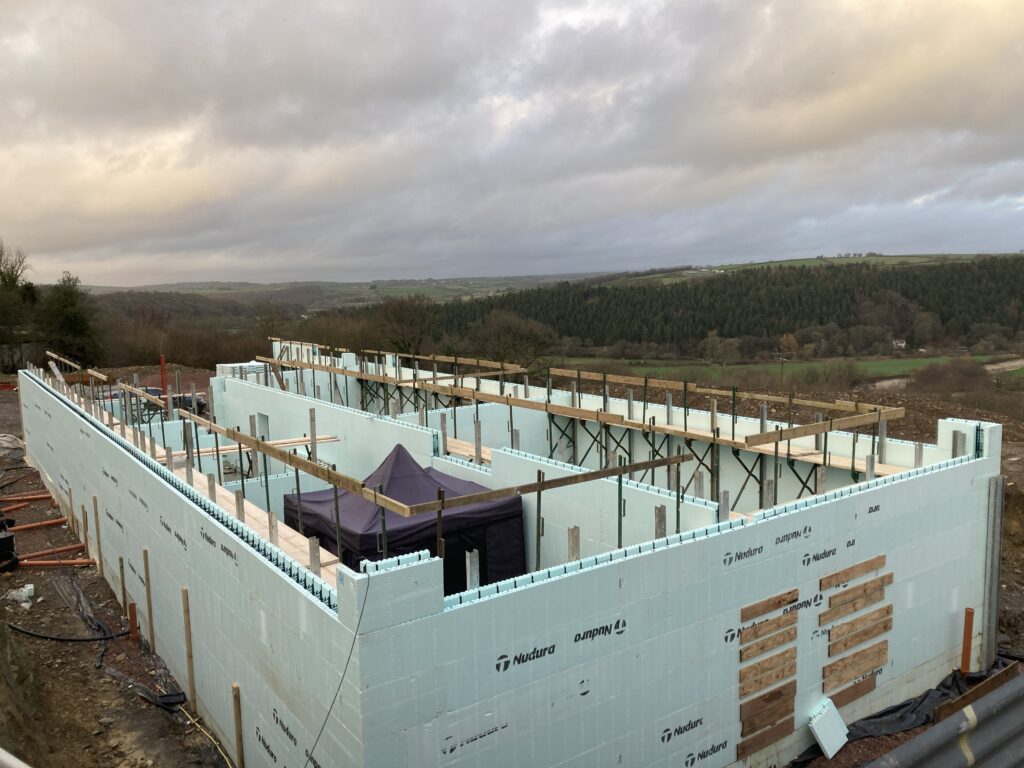
Last week of Feb – the big push to get all the walls braced and ready fro the pour on Monday March 4th.